What is Kubernetes? Kubernetes or k8s is an open-source system for container creation and management. It is used for automating application/service deployment with redundancy, scaling, and a handy management interface.
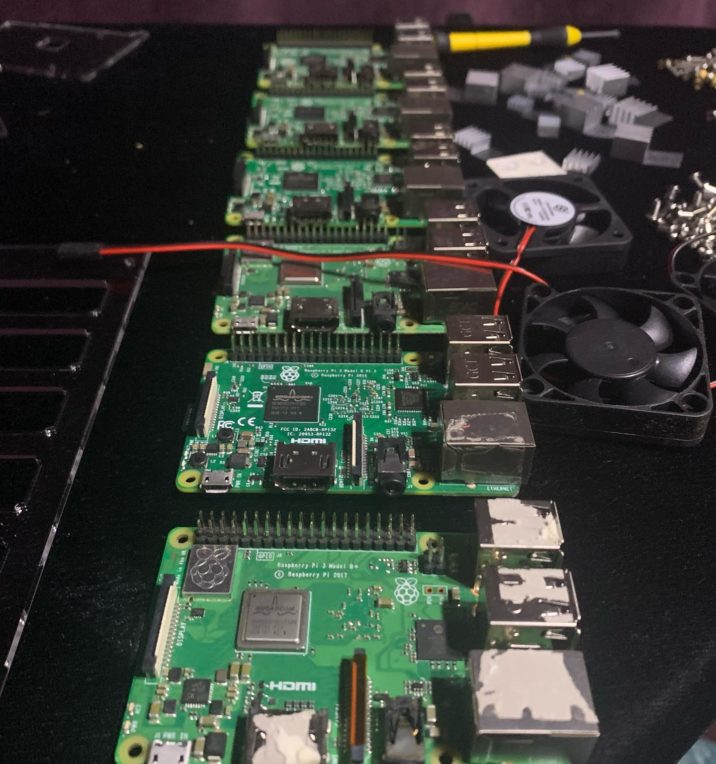
Background: I had 6 raspberry pi’s laying around so I decided to build a cluster out of them. This tutorial will explain the parts and steps needed to get things up and running.
Materials:
(6) Raspberry PI’s – I used various models including 2B, 2B+, 3B, 3B+
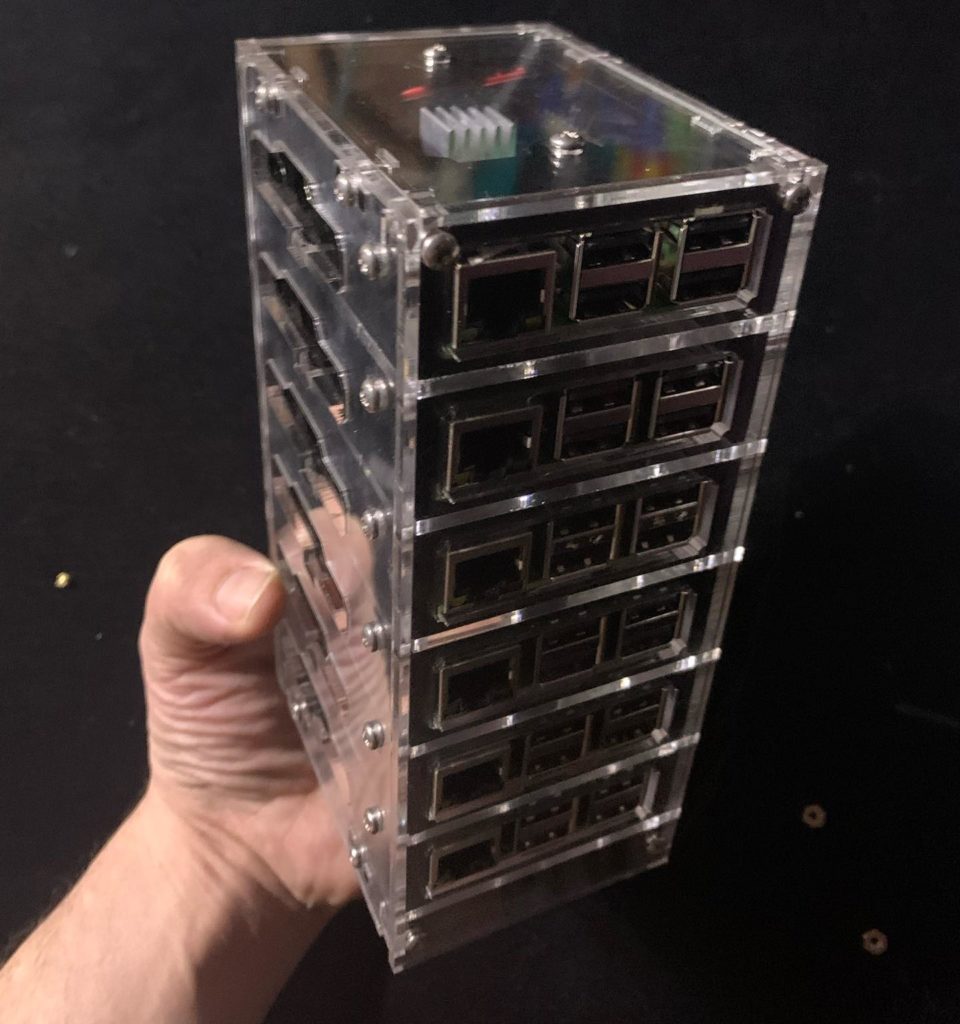
(1) 6 Node Bramble Case
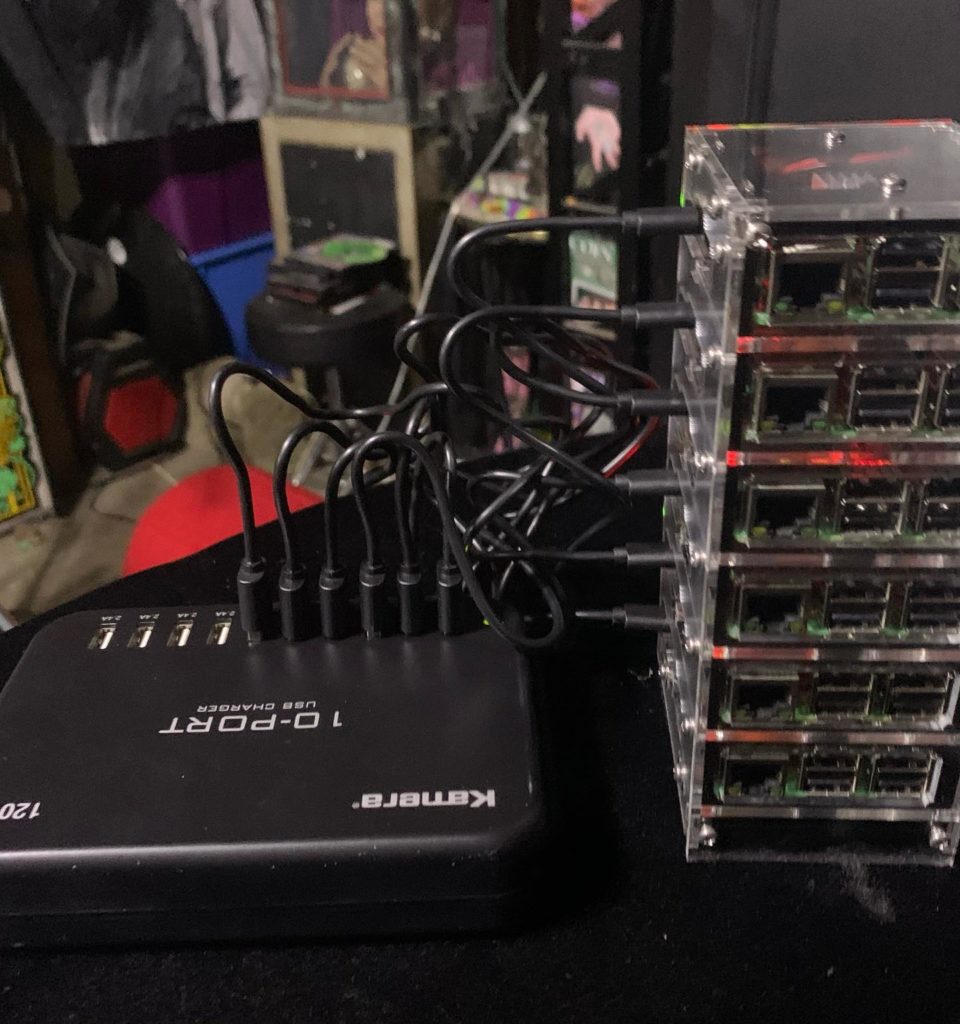
(1) Kamera 10-Port 120W, Multi-Port USB Charging Hub
(6) Micro USB cables to run from the USB Hub to power the pi
(6) Ethernet Cables or you can optionally use wifi if available.
(6) SD cards with Raspberry PI OS installed and configured for networking.
The best case I found that could fit all 6 pi’s neatly was the “bramble” case by c4labs pictured below.
For power requirements the best source I found was the Kamera USB hub. This hub works perfectly to power all 6 pi’s eliminating the need for 6 separate power adapters.
Before you begin be sure to configure proper networking. It is also a good idea to modify /etc/hosts so it contains a hostname and IP of each pi then copy to each of the PI’s so short names can be used.
Example contents of my /etc/hosts:
127.0.0.1          localhost localhost.local
10.0.0.21          pi-1 pi-1.local
10.0.0.22          pi-2 pi-2.local
10.0.0.23          pi-3 pi-3.local
10.0.0.24          pi-4 pi-4.local
10.0.0.25          pi-5 pi-5.local
10.0.0.26          pi-6 pi-6.local
1) After the pi’s are assembled, powered up with OS installed, and network configured, the first thing you will need to do is SSH into each of your Pi’s to enable c-groups which will allow the kubelet to work out of the box.
This can be done by modifying the “/boot/firmware/cmdline.txt” file and adding the following two additional boot options
cgroup_enable=memory cgroup_memory=1The full line for my raspberry pi’s look like this:
cgroup_enable=memory cgroup_memory=1 net.ifnames=0 dwc_otg.lpm_enable=0 console=ttyAMA0,115200 console=tty1 root=/dev/mmcblk0p2 rootfstype=ext4 elevator=deadline rootwait
Now save the file and reboot each pi/node.
2) Now we can install MicroK8s with the command:
sudo snap install microk8s --classic3) Next we will need to pick one of the nodes to be the master to create a cluster. I chose pi-1.
sudo microk8s.add-nodeThe command will generate a string to be used on the remaining node’s in the form of:
<master_ip>:<port>/<token>
4) From each of the remaining nodes you will run the following command to join the nodes to the cluster.
microk8s.join <master_ip>:<port>/<token>For my cluster with pi-1 as master I used:
microk8s.join 10.0.0.21:25000/iPqbBhMirtYSaNmoiLImSwAnRObCwzLi5) From the master node run the following command to get a list of nodes. You will see all nodes are listed, this may take a couple minutes.
microk8s.kubectl get nodeoutput:
NAME        STATUS     ROLES     AGE        VERSION
pi-1        Ready      master    1h         v1.14.6+888f9c630
pi-2        Ready      <none>    1h         v1.14.6+888f9c630
pi-3        Ready      <none>    1h         v1.14.6+888f9c630
pi-4        Ready      <none>    1h         v1.14.6+888f9c630
pi-5        Ready      <none>    1h         v1.14.6+888f9c630
pi-6        Ready      <none>    1h         v1.14.6+888f9c630
Now that you see all the nodes in the cluster you are ready to go! Kubernetes is up and running.